


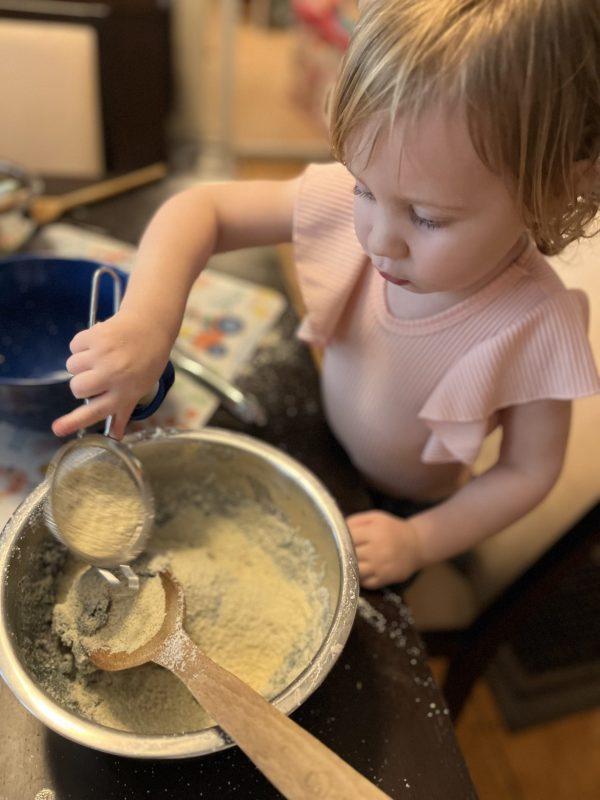
Nothing artificial for us this Easter! Well, on our Easter cookies platter anyway! We decided to give no added sugar, artificial coloring, or flavoring Easter cookies a try in maybe one of the trickiest of ways…sugar cookies!
We thought we’d do a little case study with this recipe and see how it went! If you have never experimented with gluten-free and/or sugar-free baking, there’s always a twist.
Is this recipe for everyone? No! This is really a goal-oriented recipe. Whether you’re avoiding sugar, and maybe don’t mind gluten, give all-purpose flour a whirl, or swap anything that bothers you! If the cost of alternative flours is hard, (I was stunned at how much almond flour I used) go ahead and use measure for measure. If you’d like to stay away from processed foods, and still have a cookie party with your kids, go ahead and have fun.
Here’s a list of what we used for colors:
Blue: Butterfly pea tea with lavender (some brands may be closer to purple)
Pink/Red: Beet Powder
Yellow/Orange: Turmeric Powder (less is more to not let the flavor take over)
Purple: Ground freeze-dried dragon fruit
Green: Spirulina powder
Here’s what we used for flavors:
Fresh vanilla bean
Food-grade lavender syrup
Citrus zest and a quarter teaspoon of juice
Ingredients
Method
- To start, everything is pretty standard! Preheat oven to 350 degrees. Sift all of your dry ingredients together.
- All of your wet ingredients should be at room temperature. Cream the butter and honey together, much like sugar, but it’s oh, so sticky. I did find it to be easier to use a wooded spoon and bowl vs. a mixer. It’s seriously sticky guys…but kind of fun, if you just let go.
- After creaming, add in your egg, and the sticky situation absolutely calms down.
- Add in all other ingredients and blend.
- Now it’s time to pop in some coloring. Go with your gut and shade preferences here. I will note some colors faded a bit in baking. The tea, most notably. You can absolutely divide up the dough after it’s mixed to add a couple of colors to one batch.
- The dough will seem a bit like it has sand in it. That’s okay. Refrigerate it for at least 2 hours. You want this stuff pretty cold. When you begin rolling, take out smaller batches to prevent them from coming to room temp.
- When rolling, a well-floured surface is your friend, and use limited pressure. I did find that little “roll and pats” in one direction worked better. That sticky honey seems to make a comeback!
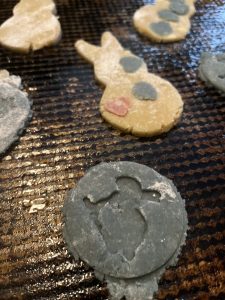
- After rolling, cut into your desired shapes. This is where the little ones can join back in on the fun!
- Bake the cookies for 8-10 minutes at 350 degrees. Watch them closely, as the corners will brown rapidly, and grab them as soon as you see that browning!
Notes

