


 Autumn in New England turns the world around us into a work of art. The colors, pieces of nature, and the holidays that fall during this time all lend themselves to fun and cozy crafting.
Here are some fun and easy Autumn crafts to celebrate the beauty of the season with your children:
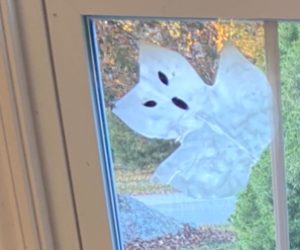
Leaf Ghost Window Clings
Get ready for spooky season by making these cute and haunted window decorations.
You will need:
- Fallen but still green (not dry or color-changed) leaves
- Liquid white glue
- Paint brushes
- Paper and marker to make eyes and mouths
- Scissors
- Waxed paper
Go outside and find some freshly fallen leaves that are not dried out. Still, green ones are best. Place your leaves on waxed paper. Use paint brushes to apply a thick layer of glue all over the leaves.
Draw, color, and cut out eyes and mouths. Feel free to experiment with different facial expressions to make spookier or friendlier ghosts for whatever fits your family. Arrange the facial features on the leaf wherever you want your face to go. Allow the leaf to dry overnight.
When the leaf is fully dry, peel the glue from the leaf. It should come off all in one piece. Apply to the window by spraying the window with a light spritz of water. Press the ghost to the water, and they will stay there until you are ready to peel them off after Halloween.
Tip: Don’t forget to use a drop cloth!
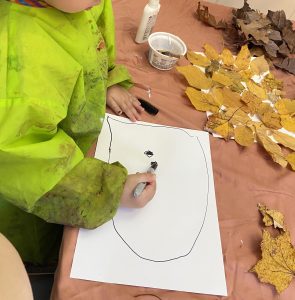
Leaf Art
You will need:
- Leaves collected from outside
- Construction paper
- Liquid glue- Tacky Glue or Hot Glue works best here
- Contact paper
Take a walk around the neighborhood and bring a bag with you. Invite your kids to hunt for every shape and color of leaf you can get your hands on. When you get home, cover your table with paper or a drop cloth. Invite your kids to separate the leaves by color or shape as they see fit.
Let the creativity flow! Make collages using the leaves to represent different parts of your creations and glue them to construction paper.
Ideas:
- Draw a turkey body and invite your kids to use leaves as feathers for an elaborate, colorful tail
- Use the leaves as the face or hands of a made-up monster
- Use the leaves as flames for a fire
- Make a self-portrait with hair made from leaves
Adaptation for younger kids:
Get out a medium rectangle of contact paper and remove the backing. Place it sticky side up and invite your child to stick leaves all over it. Use the opportunity to name colors and talk about shapes and relative sizes. When you are finished, cover your creation with a same-sized piece of contact paper, sticky side down. Hang your creation in a window to catch the light.
Fall Wreath
You will need:
- A plain wicker or grapevine wreath
- Decorative flowers, small animals/characters, greenery
- Wire cutters
- Hot Glue
Take your child to the local craft store. Pick out the right-sized plain wreath for your door. Invite your child to select a variety of fake flowers, leaves, greenery, and decorations from the wreath section.
At home, allow your child to design the layout of the wreath. Use wire cutters to trim items as needed and tuck the stems in between the strands of the wreath. With older children, assist them in securing the items in place with a hot glue gun. For younger children, have the adult handle this part.
Tip: Lots of craft stores have frequent coupons. So always do a quick internet search for these before heading to the store so you can save a few dollars. As the season gets going, the seasonal decorative items also frequently go on sale. Be sure to check websites!
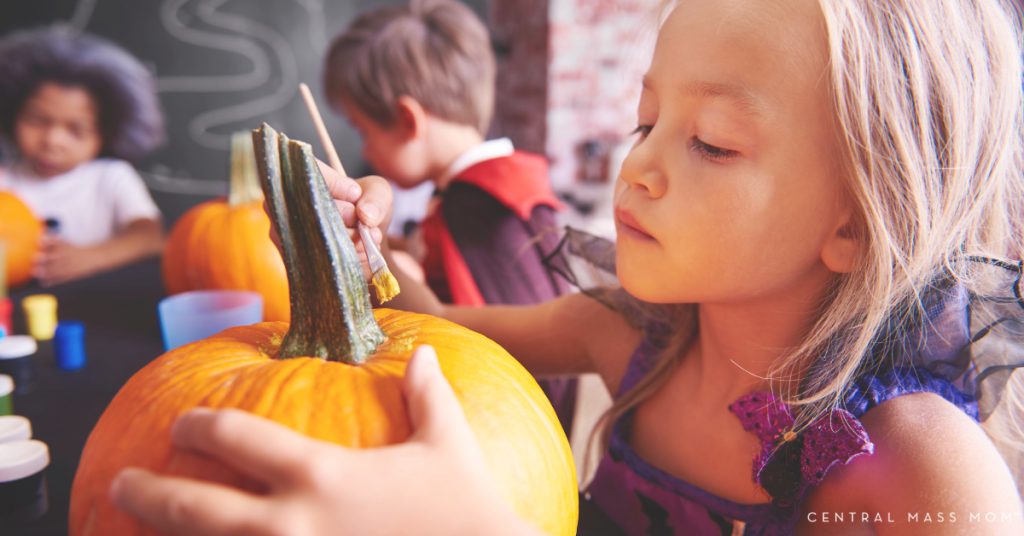
Pumpkin Painting
You’ll need:
- Acrylic or tempera paint, depending on your project
- Paintbrushes
- Paint markers
- Pumpkins
- Stickers, googly eyes, glitter (if you dare!)
Are your kids itching to decorate pumpkins well before it is time for jack o’ lanterns? Time to paint some pumpkins! Grab any size you wish of pumpkins from the grocery store or farm stand. Decide what type of painting experience fits your family and go for it!
Pumpkin portraits: If you have older (or even younger and very patient) kids, use acrylic paint markers or acrylic paint and brushes to create faces of animals, people, or Halloween characters.
Open-ended painting: If freeform is more your style, use any of the above paint types to decorate the pumpkins with shapes, designs, or just blobs of color. Acrylic paint does not come off clothes or fabric. So if you feel worried about mess, consider using tempera paint. If you use tempera but wish to store your pumpkin outside, go over the top of the design with ModPodge after the paint has dried to protect the paint from washing off
Bonus add-ons: Consider using stickers, googly eyes, or other materials to really make your designs come alive.
Bonus sensory play: If you end up using tempera paint, then you have the opportunity to wash it off and do it again and again. Fill a water table (or just a big plastic tub) with soap and water. Provide your child with sponges or wash cloths and let them give the pumpkins a bath! Dry them off, and now they’re ready to be painted a new way all over again!
I hope this list gets your creative autumn juices flowing. Happy crafting and happy fall to all!


